Installation
Welcome to the laboratory! This guide will walk you through assembling FrankenCMS in your Laravel application. Follow each step carefully — precision is key when bringing a CMS to life.
Prerequisites
Before we begin the experiment, ensure your laboratory is properly equipped:
- PHP 8.2+ with required extensions
- Laravel 12+ application
- FilamentPHP 5.0+ installed and configured
- Database (MySQL, PostgreSQL, or SQLite)
- Composer for dependency management
Step 1: Acquire the Specimen
First, we must acquire the FrankenCMS package via Composer. Run this command in your terminal:
composer require frankencms/franken-cmsStep 2: Run the Install Command
FrankenCMS ships with an interactive install command that walks you through the entire setup. Igor and the Doctor will guide you every step of the way:
php artisan franken-cms:installThe installer will interactively handle:
- Publish configuration — Creates
config/franken-cms.phpfor customizing behavior - Publish & run migrations — Sets up the database tables for content, taxonomies, menus, media, and more
- Detect your Filament panel — Automatically finds your panel providers and lets you choose which one to install to
- Register the plugin — Adds
FrankenCmsPluginto your selected panel provider - Set up Filament theming — Creates or detects the theme CSS file, registers
viteTheme()in your panel, adds the FrankenCMS@sourcedirective, installs Tailwind CSS dependencies, updatesvite.config.js, and compiles assets - Comment out default route — Comments out the default
/welcome route inroutes/web.phpso FrankenCMS can handle front-end routing - Install example theme — Optionally copies starter templates to
resources/views/theme/and rebuilds assets - Seed example content — Optionally creates sample pages, posts, categories, and a navigation menu
--force to reinstall even if already installed,
--no-migrations to skip running migrations, or
--panel=admin to specify a panel without the interactive prompt.
Establish the Storage Link
If you haven't already, create the storage symbolic link for media uploads:
php artisan storage:linkOptional: Publish Views
If you want to customize the default views, you can publish them:
php artisan vendor:publish --tag="franken-cms-views"Manual Installation
If you prefer to set things up manually instead of using the install command, follow each of these steps after running composer require frankencms/franken-cms.
1. Publish Configuration
php artisan vendor:publish --tag="franken-cms-config"This creates config/franken-cms.php where you can adjust various laboratory settings.
2. Publish Migrations & Migrate
php artisan vendor:publish --tag="franken-cms-migrations"
php artisan migrate
This creates the following structures in your database:
settings— Dynamic settings storageposts— Posts and pages contentpostmeta— Post metadata (SEO, templates, etc.)taxonomies— Taxonomy definitionsterms— Individual categories and tagstermables— Polymorphic relationshipsmenus— Navigation menusmenu_items— Menu items with nestingmedia— Media libraryusermeta— User metadatauser_bios— Author profilessite_settings_media— Global media settings
3. Register the Plugin
Open your Filament panel provider (e.g. AdminPanelProvider.php) and register the plugin:
use FrankenCms\FrankenCmsPlugin;

public function panel(Panel $panel): Panel
{
    return $panel
        ->default()
        ->id('admin')
        ->path('admin')
        ->login()
        ->plugin(new FrankenCmsPlugin) // The spark of life!
        // ... rest of your configuration
}
4. Set Up Filament Theming
FrankenCMS requires a Filament theme so its Blade views are scanned by Tailwind CSS. If you don't already have a theme, create one:
php artisan make:filament-themeThen add the FrankenCMS @source directive to your theme CSS file (e.g. resources/css/filament/admin/theme.css):
@import '../../../../vendor/filament/filament/resources/css/theme.css';

@source '../../../../app/Filament/**/*';
@source '../../../../resources/views/filament/**/*';
@source '../../../../vendor/frankencms/franken-cms/resources/views/**/*.blade.php';
Register the theme in your panel provider using viteTheme():
return $panel
    ->id('admin')
    ->path('admin')
    ->viteTheme('resources/css/filament/admin/theme.css')
    // ...
Make sure the theme CSS path is included in your vite.config.js input array:
export default defineConfig({
    plugins: [
        laravel({
            input: [
                'resources/css/app.css',
                'resources/js/app.js',
                'resources/css/filament/admin/theme.css',
            ],
            // ...
        }),
    ],
});
Install the required Tailwind CSS dependencies if they're not already present:
npm install tailwindcss@latest @tailwindcss/vite --save-dev5. Comment Out the Default Route
FrankenCMS handles all front-end routing. If your routes/web.php has the default Laravel welcome route, comment it out or remove it:
// Commented out — FrankenCMS handles front-end routes.
// Route::get('/', function () {
//     return view('welcome');
// });
6. Create the Theme Directory
mkdir -p resources/views/themeBy default, FrankenCMS looks for templates in resources/views/theme. You can customize this location in the config file.
7. Build Assets
Compile your theme assets so the Filament panel picks up FrankenCMS styles:
npm run buildVerification — It's Alive!
After installation, verify everything is working correctly:
- Navigate to
/adminand log in - You should see the FrankenCMS navigation group with Posts, Pages, Taxonomies, Menus, and CMS Settings
- Visit CMS Settings to configure your site
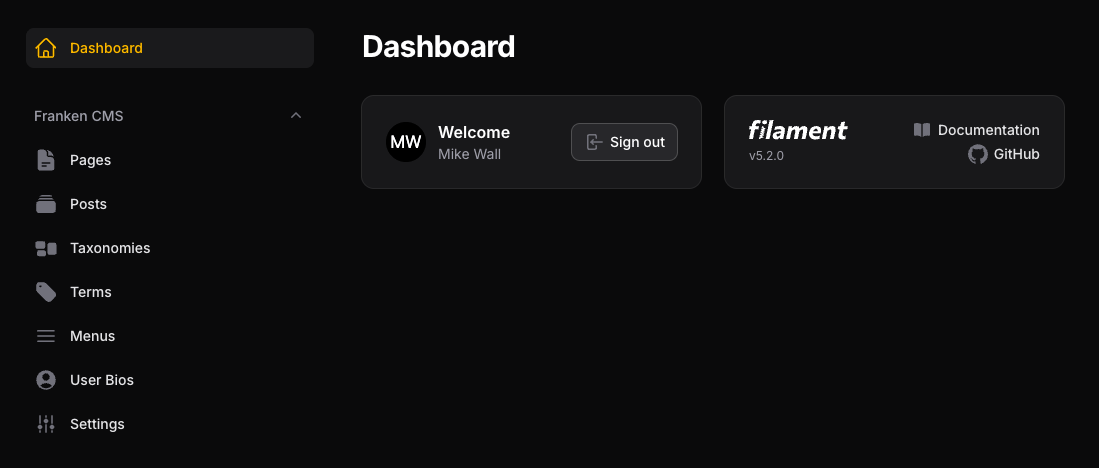
FrankenCMS admin dashboard after a fresh install.
Directory Structure
After installation, your project should include these FrankenCMS-related files:
your-laravel-app/
├── config/
│   └── franken-cms.php              # Configuration file
├── database/
│   └── migrations/
│       └── *franken-cms*.php        # Published migrations
├── resources/
│   ├── css/
│   │   └── filament/
│   │       └── admin/
│   │           └── theme.css        # Filament theme with @source directive
│   └── views/
│       └── theme/                   # Your theme templates
│           ├── layouts/
│           ├── components/
│           └── pages/
└── app/
    └── Providers/
        └── Filament/
            └── AdminPanelProvider.php  # Plugin + viteTheme() registered here
Next Steps
Excellent work! The creature stirs. Now you can:
- Configure FrankenCMS to match your laboratory's needs
- Create your first post or page
- Learn about template fields to create dynamic content